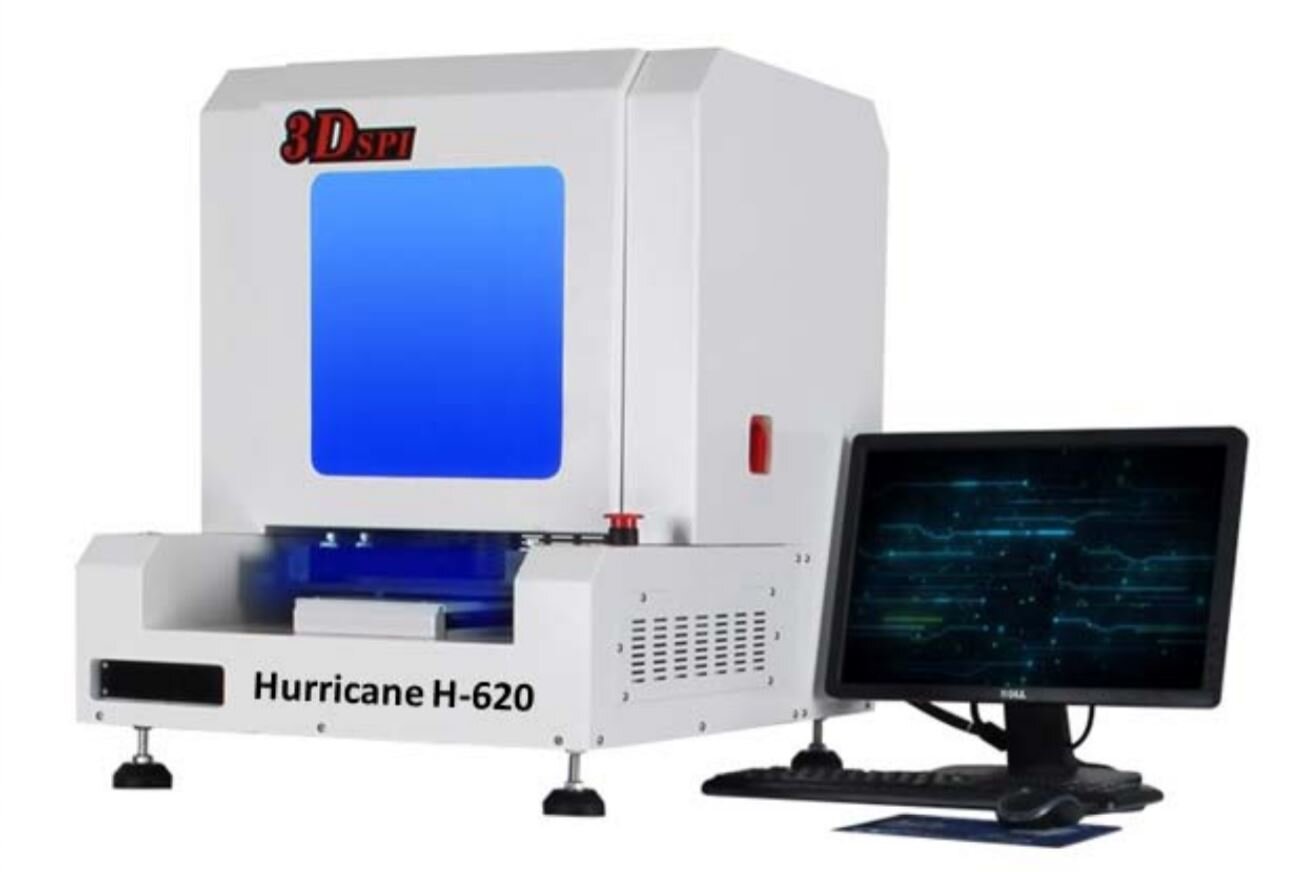
Hurricane H-620


| Hurricane H-620 | |
|---|---|
| Measurement | Volume , Area , Height , XY Shift , Shape |
| Accuracy | Height : 1 um |
| Camera | Digital high speed CCD 5M pixel |
| PCB Size | 25 x 60 ~ 250 X 300 mm |
| PCB Thickness | 0.5mm-5mm |
| FOV Size | 29 mm X 29 mm ( 18um ) |
| Inspection Speed per FOV | < 0.6s |
| Maximum Measuring Height of PCB Warp | < 1 mm |
| Maximum Measuring Height | 100-400um |
| XY Resolution | 20 um |
| Area Range | 0.15mm x 0.15mm-10mm x 10mm |
| Repeatability | Height : < 1 um ( 3 Sigma ) , Area : < 1 % ( 3 sigma ) |
| Gage R&R | < 10 % |
| XY Platform Moving Speed | 700mm/sec |
| Dimension and Weight | 82 x 65 x 76 cm , 75 Kg |
| Power Supply | ACC 220 ± 10 % , 50-60Hz , 450W |
| Air Supply | 4-6 bar |
| Environment | Temperature 10-40°c , Humidity 30-80%RH |
| Operation System | Microsoft Windows 7 Pro |
Our Premier Desktop 3D Solder Paste Inspection Machine
The H-620 is our most highly recommended 3D solder paste inspection machine. With features like its precise control platform, high speed camera, and user-friendly operation, it’s not hard to understand why. It’s capable of detecting even the hardest to find 3D defects, and it’s multifunctional - some of its other features are epoxy inspection, automatic warp compensation, and camera barcode recognition.
What is solder paste inspection, and why is it important?
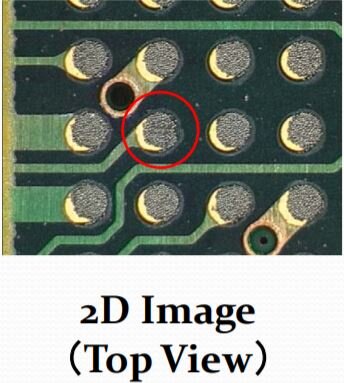
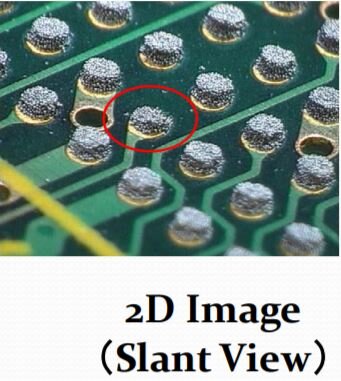
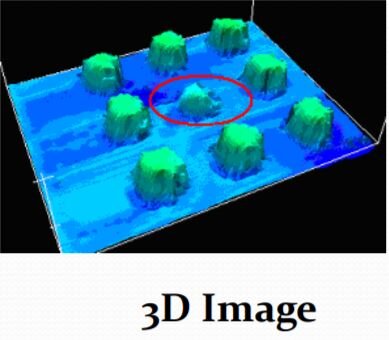
Solder paste inspection (SPI) is the process of checking solder paste deposits on Printed Circuit Boards (PCBs) during manufacturing. Most solder joint defects (at least 65%) happen during solder paste printing. SPI is key to troubleshooting the printing process, and reducing the overall number of defects by a considerable amount. 3D SPI is particularly important because it provides the most complete view - some defects are only detectable by a 3D inspector, such as insufficient volume defects.
So, the 3D SPI process can help you manufacture high quality, defect-free PCBs, lower costs and reduce delivery times (by fixing defects in otherwise perfect boards), and monitor / improve your overall production line by helping you troubleshoot errors in other areas (such as printing).
Features
High precision control platform and High Speed camera
3-Dimensional measurement system
User friendly GUI and simple operation
SPC Report support
Single Projection Light
2D/3D True Color Image
Double Projective structure grating system
Functions
Epoxy inspection
Bare board program
Automatic warp compensation
Camera barcode recognition
Off-Line Programming and debugging
Edit the pad anytime
Detectable Defects
Volume*
Area
Height*
Position Shift
Blot
Scattered Print
Insufficient Solder
Dog Ear*
*Only detectable by 3D inspection.
Need a sales representative?
